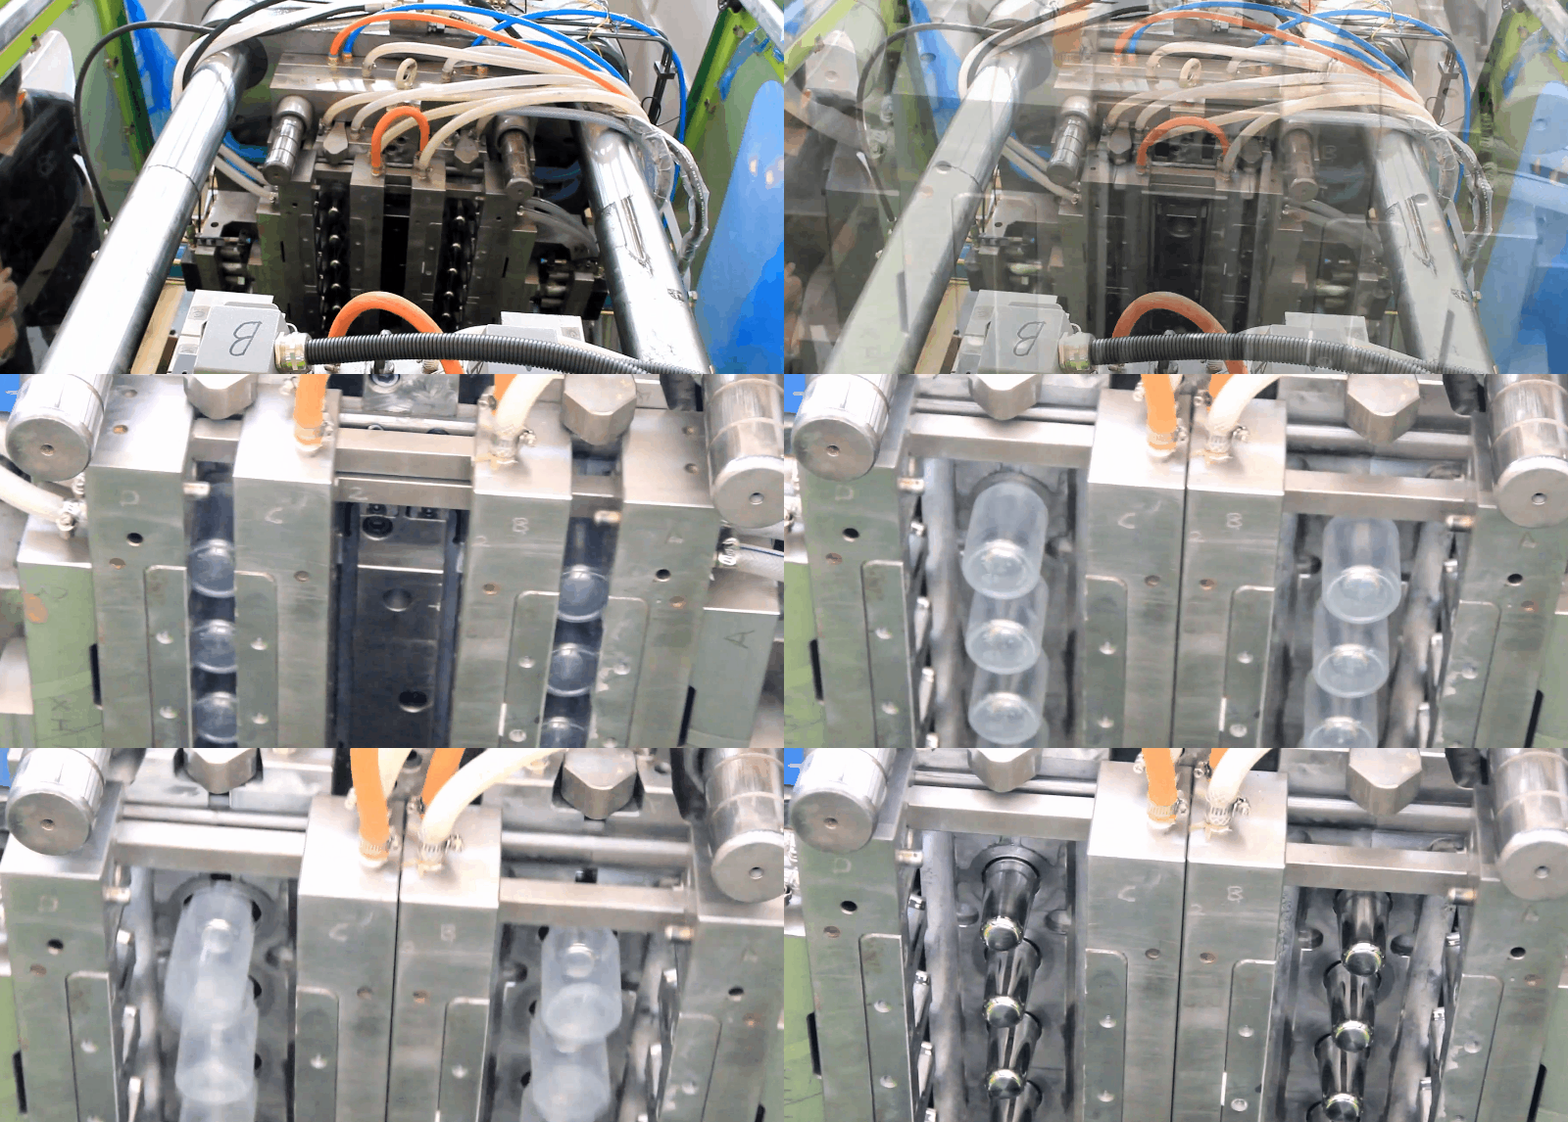
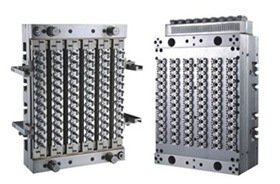
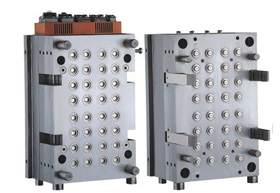
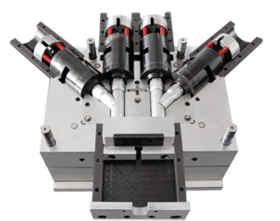
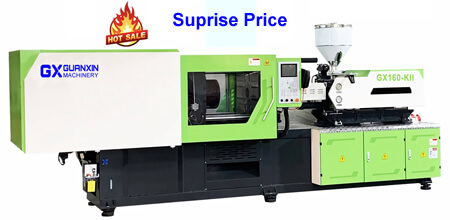
We spend more than two weeks to edit this PET preform troubleshooting guide for PET injection Molding. As many customers asking us a lot for PET preforms defects and remedies again and again. Now it`s public for reading and hope this article can help our customers and friends and save both our times.
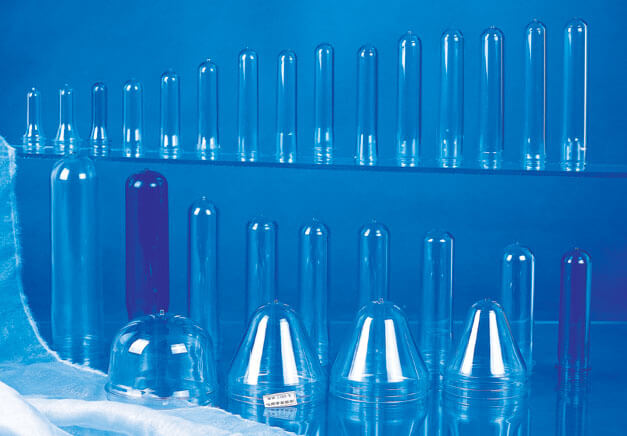
Please feel free to contact us or leave your comment after the article if your issue is not list in below table. We will check and find out the solution for you. And update this table to help most people to fix the problems.
| PET Preform Defects | Defects Caused Reasons | Solutions & Remedies | |
|---|---|---|---|
| AA value is high |
R1: The quality of raw materials has quality problems: R2: The drying effect R3: The barrel heating temperature is too high R4: The screw back pressure is too high R5: The cycle time is too long |
A1: The quality of raw materials MUST be checked before entering the warehouse: A2: Check the operation of the dryer (such as: dew point, drying temperature / time) A3: Under the premise of ensuring the quality, try to reduce the temperature A4: Set the back pressure under the premise of quality (400 ~ 600Psi) A5: Optimize the cycle time (to avoid the raw material staying in the screw for too long) |
|
| The PET Preforms is yellowed |
R1:The drying time is too long or the material heating temperature is too high R2:the temperature of the barrel is too high R3:the mold temperature is too high R4:the raw material stays in the screw for too long |
A1:The over-dried material is discharged, and the material is dried again. A2:the temperature is lowered (generally, the preform does not produce a white fog temperature increase of 2 ~ 5 ° C) is the normal temperature A3:the temperature is reduced to the appropriate temperature (275 ~ 280 ° C) A4: empty the raw material of the barrel |
|
| 3. Preforms thickness is big different |
R1:The screw temperature is too high R2:the screw back pressure is too large R3:the injection speed is too fast R4:the mold cooling water temperature is too high R5:the cooling time is too short |
A1:adjust the screw temperature appropriately A2:adjust the screw back pressure to the appropriate pressure A3:appropriate to reduce the injection speed (usually 3.5 ~ 4 S when injected) A4:check the cooling cycle water temperature (9 ~ 11 ° C ± 2 ° C) A5:lengthen the cooling time (usually set to 3 ~ 4 S) |
|
| Surface scratches (embroid body / thread) |
R1:PET Injection Mold has adhesived R2:PET Preform Mold was damaged R3:The ejection pressure is too large R4:The position of the take-up plate is not correct. |
A1:Clean the mold A2:Replace damaged parts or repair the mold A3:Adjust the ejection pressure to the appropriate state A4: Check the position of the suction plate and the lip of the plate (generally set to: 22mm) |
|
| IV falls is too big |
R1:Raw materials storaged in store too long time R2:Poor drying effect R3:the barrel heating temperature is too high R4:the screw back pressure is too large R5:the mold heating temperature is too high R6:the preform storage time is too long or the warehouse environment temperature, humidity is too high R7:the quality of the raw material itself has quality problems |
A1:Raw materials to achieve first-in-first-out method A2:check whether the dryer is normal, maintain the dryer, check the dry bead use time (usually 2 to 3 years replacement) A3:under the premise of ensuring the quality, try to reduce the temperature A4:under the premise of quality will be back pressure, generally set: 400 ~ 600 Psi A5:reduce the heating temperature of the warmer, generally set: 280 ~ 285 ° C A6:check the wet / temperature of the warehouse (generally: 70% / 28 or less), do a first-in-first-out inventory method A7:notify the supplier to deal with |
|
| Shrinkage deformation |
R1:the cooling time is too short R2:The holding time is too short / the pressure is insufficient R3:the mold cooling water temperature is high R4:the mold circulating water pressure is low |
A1:Set a longer cooling time (set: 3 ~ 4S) A2: the holding pressure is extended (set to: 3 to 8S); increase the holding pressure (level 1: 800Psi, level 2: 700Psi, level 3: 600Psi) A3:the mold cooling water temperature is high → reduce the water temperature (set: 9 ~ 11 ° C ± 2 ° C) A4: increase the water pressure (set: 6 ~ 7 Kg) |
|
| Unmelted material |
R1:The screw heating temperature is too low R2:Screw slips can not cut the raw materials R3:Screw back pressure is too small R4:Drying temperature is too low |
A1: Temperature is raised appropriately A2: (general production of color oil only has this phenomenon) Check whether the color oil is too high, replace the color oil A3:Increase the screw back pressure A4:Check whether the screw feed temperature meets the requirements (normal requirement is 160 ° C) |
|
| Bottle mouth shortage |
R1:Insufficient injection volume R2:The injection pressure is too low R3:The injection speed is too slow R4:The pressure holding position is too large R5:The holding pressure is too small R6:Mold cooling cycle water temperature is too low |
A1:Increase injection volume (the remaining position after injection is generally 5~8mm) A2:Iincrease the injection pressure A3:Speed up the injection speed (optimal injection time: 3.5 ~ 4s) A4:Reduce the pressure holding position (injection pressure: 900 ~ 1200Psi) A5:Increase the holding pressure A6:Increase the cooling water temperature (set: 8 ~ 10 ° C) |
|
| Long nozzle extension nozzle |
R1:The drying effect of raw materials is poor R2:Hot runner valve needle cylinder blockage R3:Hot runner / nozzle temperature is too high R4:The pressure holding time is too short R5:The holding pressure is too small R6:The cooling time is too short |
A1:Stop and dry raw material again A2:Maintenance hot runner A3: Properly lower the temperature A4:Lengthen the pressure holding time A5:Increase the holding pressure A6:Lengthen the cooling time |
|
| Injection port drawing |
R1:The hot runner nozzle cannot be closed or the nozzle mouth is worn out R2:The hot runner nozzle temperature is too high R3:The nozzle valve delay closing time is too long R4:Valve needle control valve failure |
A1: maintenance hot runner cylinder or replacement of new nozzle A2:Lower the nozzle heating temperature A3:Reduce the nozzle valve delay closing time A4:Maintenance valve needle control valve |
|
| PET Preforms have water and gas traces |
R1:The temperature of the mold cooling water is too low R2:The ambient temperature of the workshop is too high or the humidity is too high, causing the mold to hydrate the water R3:The mold leaks |
A1:Increase the temperature of the circulating water of the mold A2:Lowering the air conditioning temperature A3:Check the mold leakage and eliminate |
|
| Bottom crystallization |
R1:The hot runner and nozzle temperature are low R2:The pressure is too large R3:The mold cooling water is low or high R4:Mold cold water channel blockage |
A1:Increase the nozzle and hot runner temperature A2:Reduce the pressure of the third level A3:Check if the cooling water temperature is reasonable and then adjust A4:Maintenance mold water circulation channel |
|
| Bottle white mist |
R1:Insufficient drying of raw materials R2:The screw heating temperature is too low R3:The screw slips R4:The back pressure is too low |
A1:Stop and dry the raw materials A2:Increase the screw heating temperature A3: (general production of color oil embryos appear) will increase the temperature of the barrel A4:Increase back pressure |
|
| Preform black spots / pollution |
R1:The raw materials are polluted or have impurities in them. The raw materials with impurities are released R2:The raw materials are contaminated during drying R3:Barrel temperature / hot runner / nozzle temperature is too high R4:The production environment or equipment is too clean and hygienic R5:The preforms are stored in the warehouse and contaminated |
A1:The feeder should always pay attention to whether the raw materials are contaminated A2:The raw materials with quality problems are released. A3:Reduce the temperature to the appropriate temperature A4:Keep the workshop and equipment clean and hygienic A5:Keep the warehouse sanitation and the packaging intact |
|
| Bottom peeling |
R1:The nozzle temperature is too high or too low R2:The mouth of the nozzle is worn R3:Hot runner valve needle deformation or wear R4:The third stage of the holding pressure is too large |
A1:The nozzle temperature is adjusted to moderate A2:Replace the new nozzle and the new nozzle insulation sleeve A3:Replace the new valve needle A4:Reduce the holding pressure |
|
| Internal shrinkage of the bottom of the bottle |
R1:Excessive scale or rust of the core cooling pipe R2:The core transport pipe is loose R3:Insufficient water pressure R4:The water temperature is too high |
A1:Cleaning the core cooling passage A2:Demoulding from the new tightening water pipe A3:Raise water too (generally: 6 to 7 bar) A4:Adjust the temperature of the chiller into the water |
|
| Scorch marks |
R1:The nozzle temperature is too high R2:Nozzle nozzle insulation aging R3:The cooling water passage at the bottom of the cavity is blocked R4:Insufficient water pressure R5:The water temperature is too high |
A1:Reduce the nozzle heating percentage A2:Replace the new nozzle insulation sleeve A3:The mold cavity is cleaned and the bottom of the cavity is cleaned. A4:Increase water pressure A5:Lower the water temperature |
|
| Fishbone stripes |
R1:The mold hot runner temperature is too high R2:The mold nozzle heating temperature is too high R3:Mold nozzle insulation sleeve aging R4:The nozzle valve needle does not move smoothly |
A1:Lower the hot runner temperature A2:Lower the nozzle temperature A3:Replace nozzle insulation sleeve A4:Maintain the hot runner or replace the valve needle |
|
| Injection pinhole |
R1:The mold nozzle temperature is too high R2:The position of the glue is too small R3:The mold hot runner temperature is too high R4:The raw material drying effect is poor R5:The injection speed is too fast R6:The pressure and time are too small |
A1:Lower the nozzle temperature A2:Adjust the position of the glue A3:Lower the hot runner temperature A4:Stop from the new dry (about 2 to 3 hours) A5:Slow down the injection speed A6:Lengthen the pressure and time |
|
| The bottom of the embryo shrinks |
R1:Insufficient injection volume R2:The pressure holding position is too large R3:The cooling water temperature is too high R4:The cooling time is too short R5:The pressure is too small |
A1:Increase injection volume (remaining position: 5~8mm) A2:Increase the pressure A3:Reduce the cooling water temperature A4:Lengthen the cooling time A5:Increase the pressure of pressure |
|
| Bottom whitening of PET Preform |
too low temperature of nozzle of hot runner too low temperature of plastic material |
improve the insulation increase the nozzle temperature increase the material temperature increase the injection speed lower the packing pressure lower down the cooling water speed |
|
| Opaque pet preform body |
poor material drying insufficient material plasticizion too thick wall and poor cooling foreign material mixed too low material temperature |
ensure 4+ hrs drying increase material temperature increase the rotation speed of screw verify the drying temperature and shot volume, drying temperature 165 ℃ and moisture<0.02% improve the cooling and make the wall thinner |
|
| Pet preform from transparency to Opaque | too high ejection temperature |
imrpove cooling prelong the cooling time change injection time |
|
| haze on the one side of the preform |
too high hold pressure eccentric gate |
lower the hold pressure fix the PET preform mold |
|
| sliver streaking or yellowing of PET preform | plastic decomposition |
lower drying temperature and prelong drying time change the injection speed lower the material temperature lower nozzle temperature |
|
| Voids in Pet preform | insufficient drying |
improve the drying increase the material temperature lower the rotation speed of the screw |
|
| uneven ring groove on the inner wall | vapor condensation in the core and cavity |
Improve the workshop drying increase the cooling water temperature drain the PET preform mold |
|
| breakage on the gate of the PET preform |
undercut on the gate gate too hot misalignment of hotrunner nozzle and gate |
fix the PET preform mold fix the gate prelong the cooling time increase the injection speed or prelong the injection time improve the insulation of the gate |
|
| short fill or welt line on the neck of PET preform |
poor venting eccentric gate position |
enlarge the venting groove clean the screw neck lower the injection speed fix the gate |
|
| uneven wall thickness of PET preform |
poor quality of PET preform mold eccentric gate orifice too high injection pressure eccentric core |
fix the PET preform mold increase the material temperature lower down the pressure improve the accuracy and use adjustable core and cavity |
|
| surface dent of the PET preform |
too high material temperature too short injection time too short hold time too quick injection speed insufficient cooling |
lower the material temperature prelong the injection time increase the hold pressure lower the injection speed increase the cooling water pressure |
|
| Nozzle Drooling |
poor insulation insufficient cooling too much pressure on the melt poor non-returm on screw head too low hold pressure |
secure the gate insulation improve the cooling clean the screw increase the hold pressure |
|
| PET preform bend after ejection |
eccentric gate orifice uneven cooling |
fix the PET preform mold;lower hold pressure increase the injection speed;prelong the cooling time clean the cooling line;increase the cooling water pressure |
|
| PET preform bend after heating |
eccentric core eccentric temperature adjust orifice uneven density of PET preform |
fix the PET preform mold fix temperature adjust base lower the temperature, especially on the bend section. |
|
| PET preform local whitening | insufficient PET preform heating temperature | increase the PET preform heating temperature and even the all body temperature | |
| PET preform whitening after temperature adjusted | too high temperature | Assure PET preform 80 ℃ and PP 110 ℃ | |
| Insufficient expanding of PET preform |
insufficient air pressure insufficient heating temperature injection fault of PET preform |
increase the air pressure and air increase the temperature of the PET preform verify the PET preform even soften by 100℃ water |
|
| Having cracked preform bottom |
too high preform bottom temperature too low preform temperature severe decomposition |
Adjust the preform temperature Check and change the preform and material,improve the drying |
|
| PET preform eccentricity |
too early blowing too high air pressure misalignment of blow pin the bottle bottom severe eccentricity too low speed of blow pin distance between blow pin and bottle bottom over 1.5mm too high PET preform bottom temperature |
Delay the blowing time. Lower down the air pressure. Check and fix the installment. Check the PET preform. Adjust the air cylinder pressure. Adjust the distance between blow pin and botle bottom to be 1.5mm or smaller. Lower the preform bottom heating temperature. |
|
| preform body insufficient extending on the vertical direction |
too high heating temperature local cold slug insufficient air pressure and air volume poor venting of blow mold too high blow mold temperature, too thin wall bottle insufficient vertical draw ratio |
adjust the PET preform temperature increase the air pressure and air improve the blow mold ventin; improve the blow mold cooling fix the blow mold increase the vertical draw ratio |
|
| bottle circumferential uneven wall thickness |
PET preform eccentricity uneven heating temperature poor venting |
fix the PET preform mold improve the heating appratus lower the problem section temperature improve the venting |
|
| protrusion on the bottom | low temperature of PET preform bottom | blow earlier and adjust the heating temperature | |
| bottle local whitening after blowing |
local insufficient heating temperature too much local draw ratio moisture in compressed air |
increase the PET preform temperature check the design of PET preform improve the filtration of water and oil |
|
| bottle poor vertical loading |
uneven wall thickness too high PET preform heating poor bottle profile |
make the wall thickness uniform try low temperature and high pressure molding improve the design of bottle |
|
| bottle ease of broken after falling |
unsufficient draw of bottom of preform decomposition after much heatihg |
install the air filter dehumidification of compressed air |
|
| Pitting and whitening on the bottle body |
poor design too high blowing temperature |
improve the design try low temperature and high pressure blowing |
|
| burning and odour smell after blowing |
too high blowing temperature poor quality of compressed air poor quality of material |
lower the blowing temperature fix the air compressor and filter use the good quality material |
|
| The water taste changed after filling |
too much aldehyde content bad quality material |
low temperature of injection and blowing check the aldehyde content and expel bad material |
|
| * The Remedies May can not fix your problems as the information listed is base on our experience only. | |||
If the information can`t solve your problem or any issue on PET preform troubleshooting, please leave us a comment for we can check and update the solution for your information.
