Inspection Prior to Operation of Toshiba Injection Molding Machines
Check the following items daily before the operation to regularly operate the machine efficiently and for safety.
1. Safety device
1). Safety gate on the operation side. (Check the electrical safety device )
a. Open the movable platen to the open limit.
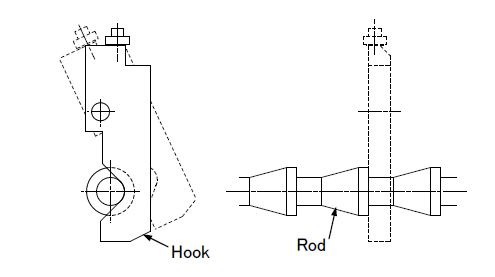
b. Close the movable platen until the hook of the mechanical safety device meets the crest on the rod.
c. Press [MAN] of the OPERATION
selector button and open the safety gate by 30 mm [1.18 in] or more.
d. Press [CLOSE] and [OPEN] of the MOLD buttons. (Check that the movable platen does not close or open.)
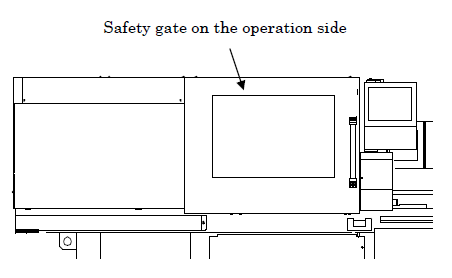
2). Mechanical safety device
a. Open the movable platen until the hook of the mechanical safety device meets the groove on the rod.
b. Open the safety gate on the operation side sufficiently.
(Check that the hook of safety device fits into the groove on the rod.)
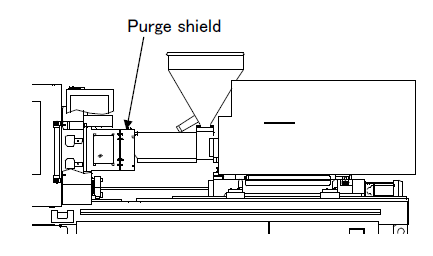
3). Purge shield (Check the electrical safety device.)
a. Press [MAN] of the OPERATION selector button and open the safety gate by 30 mm [1.18 in] or more.
b. Press each push button. ( Check that the machine stops all its movements.)
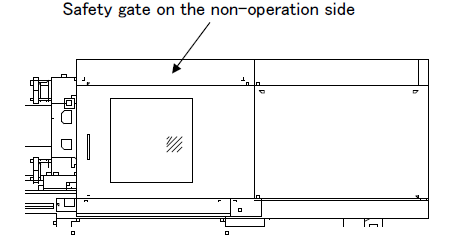
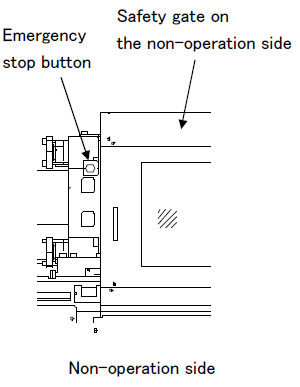
4).Safety gate on the non-operation side. ( Check the electrical safety device )
a. Press [MAN] of the OPERATION selector button and open the safety gate by 30 mm [1.18 in] or more.
b. Press [CLOSE] and [OPEN] of the MOLD buttons.
(Check that [SERVO] of PREPARATION lamp goes off and the movable platen does not close or open. )
5). EMERGENCY STOP button (operation side)
a. Press [SERVO] of the PREPARATION button before pressing the EMERGENCY STOP button.
Check that [SERVO] of the PREPARATION lamp goes off when pressing the EMERGENCY STOP button.
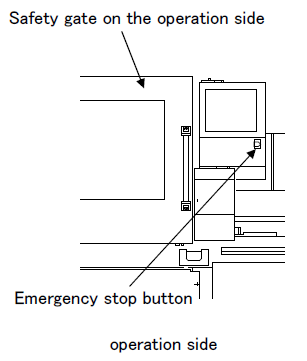
Be sure to check both the operation and non-operation sides.
To restart, turn the EMERGENCY STOP button clockwise for unlocking, press [MAN] or [SET-UP] of the OPERATION button, and press [SERVO] of the PREPARATION button.
6). EMERGENCY STOP button (non-operation side)
(Follow the procedure of previous item for the emergency stop button on the operation side.)
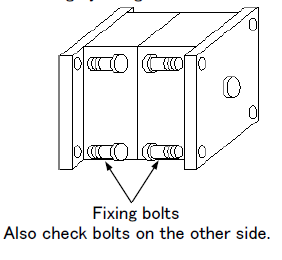
2. Mold fixing bolts
Check mold fixing bolts for no loosening by using a wrench. Check for no looseness:
1) Check proper size, number and thread depth in consideration of maximum opening force and nozzle touch force of the machine.
2) Exercise an extreme care to use clamps for fixing the mold since loose bolts may cause mold drop resulting in serious accidents.
