How To Replace the Screw in Injection Molding Machine
Replace the screw by following the procedure below.
1) Swivel the injection unit by referring to the previous section.
2) Dismount the injection cover to remove the split collar connecting the screw and S shaft.
(Unscrew socket head bolts to remove the split collar.)
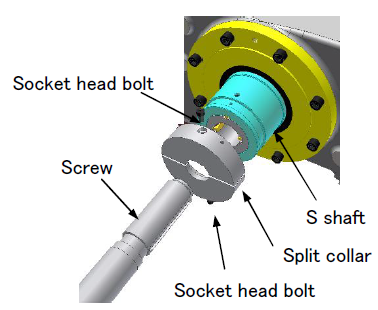
When reassembling, tighten the bolts at the specified clamp torque. Refer to [Appendix] separately provided.
3) Removing the nozzle
Use the attached 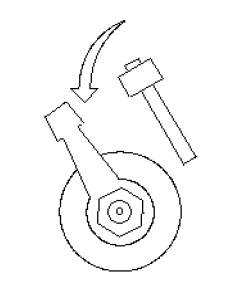 to remove the nozzle.
A gentle blow to the spanner can easily loosen the nozzle.The nozzle is right-hand threaded.
NOTES:
a. Remove or install the nozzle while hot. After cooled, scuffing or thread may be encountered.
Recommendation temperature is from the actual barrel setting temperature to 250℃<482°F>.
Be sure to check that the power is turned off, before removing heaters and heater cables for screw replacement.
b. When mounting the nozzle, thoroughly clean the threads and sealing part, and apply metal lubricant (LUBE-EKS P9, OMEGA 99 or equivalent) in advance.
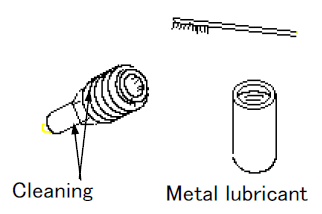
c. Lightly tighten threads first. After nozzle and barrel temperatures rise to the same level, tighten them completely.
4) Turn on the power of the machine and press MOLD SET-UP of the OPERATION button. Press [SERVO] of the PREPARATION button to turn on the servomotor.

5) Advance the screw to the advance limit by using operation switch for screw advance/retract. Then retract the screw and separate the screw from the shaft S.
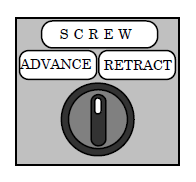
6) Screw pushing
[When manual pushing is possible]
Turn off the servomotor. Manually push the screw from the rear end, to protrude the screw out of the barrel tip to the extent a wrench can be set on the screw tip.

[When manual pushing is not possible]
Insert a metal plate between the screw rear end and shaft S. Then advance the screw by using operation switch to protrude the screw out of the barrel tip to the extent a wrench can be set on the screw tip.
If inserting your hand into moving units to remove the screw, be sure to check that the power of servomotor is turned off.
Strictly avoid placing yourself in the direction of screw protruding. It is extremely dangerous since the screw may suddenly come out.
7) Removing the screw tip
To remove the screw tip, apply a blow with the attached eye spanner when the screw tip has come out of the barrel to some extent (while the screw is on the keyway).
The screw tip is left-hand threaded.
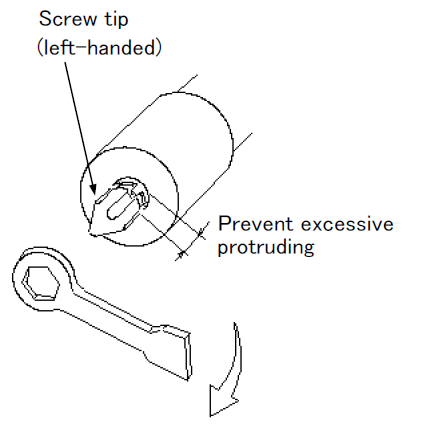
Do not remove the screw tip completely when dismounting the screw. On the i0.4 unit, withdraw the screw without loosening the screw tip. Then remove the screw tip while holding the screw with a vice. When holding the screw, place pieces of aluminum or copper plate to protect the screw flight.
a. Avoid heating the check ring directly with a burner for screw tip removal. Metal decomposition of ring may cause cracks or wear.
b. When mounting the screw tip, thoroughly clean all parts and completely apply metal lubricant to the threads in advance.
c. Lightly tighten the threads first. After screw tip temperature has risen the same as screw, tighten them completely. When tightening φ28 screw tip or less, apply proper torque with the torque wrench and the accessory of tip spanner.
* Refer to the instruction manual [Appendix] for details of screw tip tightening torque.
8) Removing the screw
Hold and manually pull the screw tip slightly. When the screw protrudes from the barrel tip, apply a wire to the screw tip for pulling. When the screw comes out to some extent, apply another wire onto the screw to entirely draw out the screw.
a. To install the screw, reverse the procedure of removing. At this time, be sure to meet screw and shaft S key.
b. Never remove the screw while the barrel is cool.
Do not stand in the screw removal direction to avoid injury if the screw jumps out.
By TOSHIBA MACHINE CO.,LTD.
